Pin Hole Cameras
In the middle ages a man called Alhazen created the first Pin Hole Camera which was also called the camera obscura and he was also able to explain why the pictures were upside down (light travels in a straight line). The first photograph was taken on a summers day in 1827 by Joeseph Nicephore Niepce. Before Niepce took a photographic image, people used the camera obscura for drawing purposes. Niepce placed an engraving onto a metal plate coated in bitumen, and then exposed it to light. When Niepce put the metal into some chemicals a photo appeared, this process took 8 hours, in order to create a good photo. In 1982 Louis Daguerre formed a partnership with Joeseph Nicephore Niepce to improve the process that Niecpe had developed. In 1839 after years of experiments and Niepes death, Daguerre developed an effective method of photography naming it after himself - the daguerreotype.
In 1839, Daguerre and Niepce's son sold the rights for the daguerreotype to the French government and published a booklet to the public describing the process of how to use a Pin Hole Camera.
Friday, 17 September 2010
Thursday, 16 September 2010
Pin Hole Cameras
Our first project was to make a Pin Hole Camera, we made these in order for us to see how cameras work
and to see the first cameras used and so that we can use the dark room and and learn how to develop our photos the old fashioned way before we had all the electronics that we do today.
We created our Pin Hole Cameras from scratch, we had to bring in a light proof container, I brought in a cardboard square gift box, i thought this would be good as the lid was well shut and would prevent the light getting through. We then had to cut out a square hole in the front of our container. I then painted the inside of the box completely black in order to maximze the darkness and to prevent the reflection of light. During this i didn't put enough paint on it because you could still see the original colour of the box throught some of the cracks in the paint were i didn't cover it enough. We then got a peice of foil which was bigger than the hole that we previously cut which we had to flatten down the stick over it using duct tape but making sure that we didnt cover the hole with the tape. We then pierced the foil with a pin which would act as our Aperture letting the light through in order to take our picture, we thenn went into the dark room and cut a piece of photographic paper to fit our camera using some douple sided duct tape so it wont move about, opposite the Pin Hole.
We then calculated how long we needed to leave the lens open in order to take a good photo which is measured in F-Stop.
Distance from Pin Hole to paper (mm)
- - - - - - - - - - - - - - - - - - - - - - -
Diameter of Pin Hole (mm)
F-Stop = 130
- - - = F-162.5
0.8
Estimate for how long flap to be open
Outside: 3mins
Inside: 15mins
After trial and error I found that my camera works best if I leave the flap open for 5mins outside and unfortunatly i didnt have enough time to take any photos outside.
Once I was in the dark room i took the lid off of my box and took the photographic paper out and put it in the first chemical and left it in there for 30 seconds then moved it into the next tray which was water in order to rinse it off then I put it into the next tray with chemicals in it and left it for about 5 minutes then I dryed it using a machine, then I put more paper in my camera, but you must open the Photographic paper in the dark room otherwise the white light will ruin it and then I went and took another photo.
We then scanned our photos into our blogs using our student cards and sending it to our student email adresses, I then turned the photos from black and white into negative and positve, these are my final Pin Hole Photos:

This photo is Negative, it is of a play area, i thought it would be a good place to take a photo as there was a lot of light.

This photo is positve photo, it is of a play area, I thought it was a good place to take a photo as there was a lot of light.

This Photo is negative, it in the park off a top of the stairs.
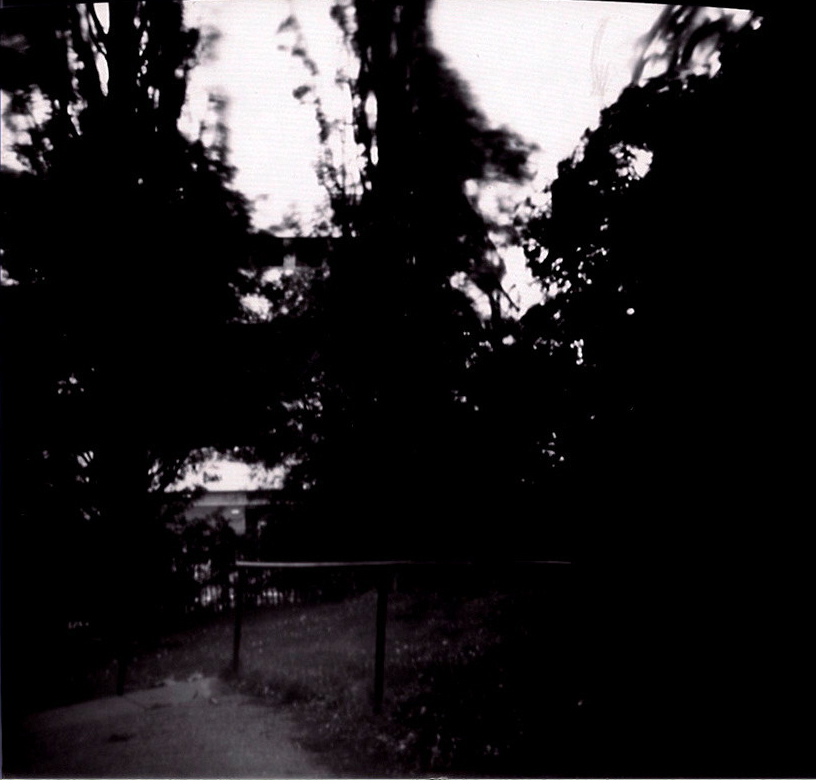
This is the positive photo of the park, i took these photos here because there was a lot of light and it was up high so the camera would be able to pick up quite a lot of detail.
Subscribe to:
Comments (Atom)